System Settings
Software Settings
The control terminal provides a unified settings panel where you can customize system preferences, data subscriptions, network services, and display options.
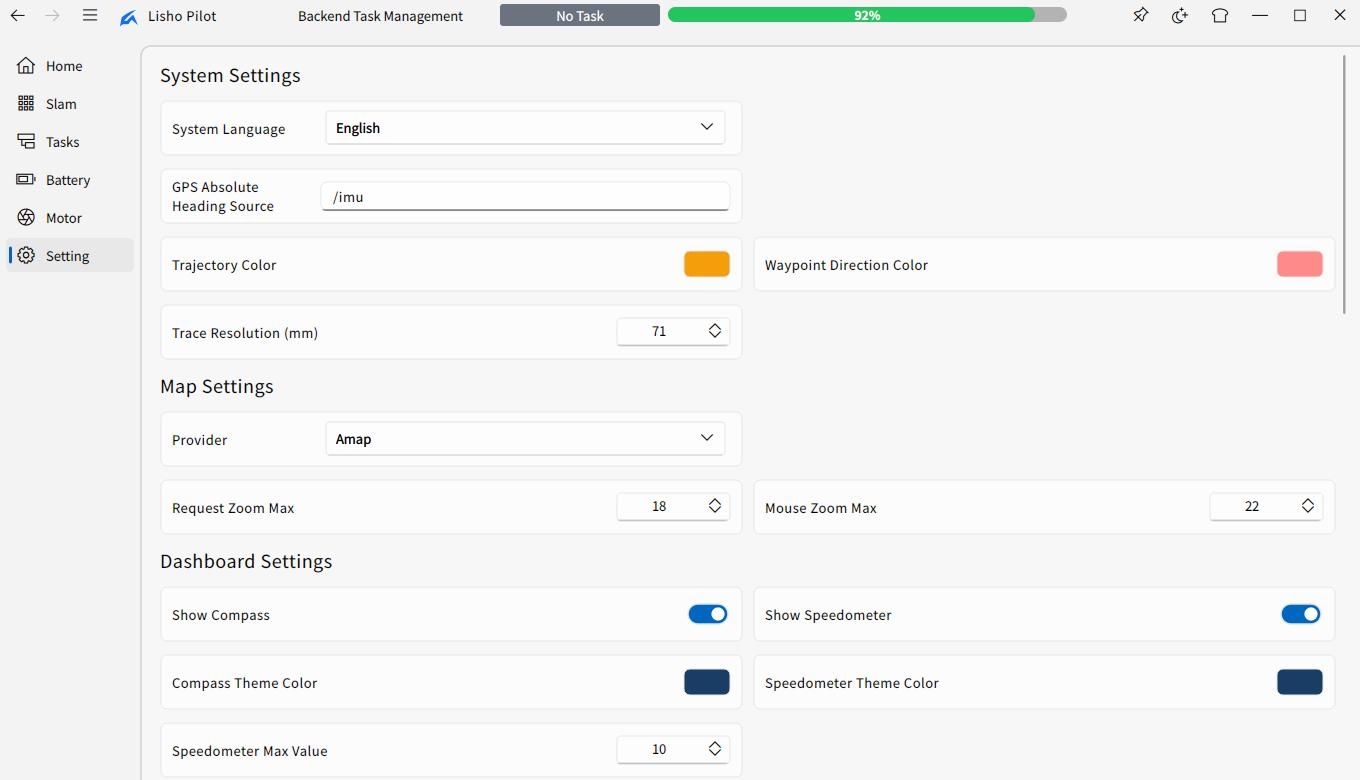
System Language
The Pangolin AT-1 control terminal supports multiple languages to accommodate international users:
- Chinese: Simplified Chinese interface
- English: Full English localization
To switch the language, navigate to Settings → General → Language, select your preferred option, and restart the terminal for the change to take effect.
Topic Subscriptions
The control terminal displays real-time ROS 2 topic data in the telemetry dashboard. You can subscribe to or unsubscribe from topics based on your operational needs:
| Topic | Description |
|---|---|
| Heading | Real-time IMU heading and orientation data |
| 3D LiDAR | Point cloud visualization overlay on the map |
| Camera | Live video feed from onboard cameras |
| Odometry | Wheel odometry for speed and distance tracking |
| GPS / RTK | Raw positioning data and fix status |
| Battery | Voltage, current, SOC, and temperature readings |
To manage subscriptions, go to Settings → Data → Topic Subscriptions and toggle the topics you wish to monitor. Unsubscribing from unused topics can reduce terminal bandwidth usage.
Network RTK Settings
For outdoor centimeter-level positioning, the vehicle can receive RTK corrections via an NTRIP (Networked Transport of RTCM via Internet Protocol) service. Configure the network RTK connection in Settings → Positioning → NTRIP:
| Parameter | Description |
|---|---|
| Server Address | NTRIP caster hostname or IP address |
| Port | NTRIP caster port (typically 2101) |
| Mount Point | Mount point identifier from the caster's source table |
| Username | NTRIP service account username |
| Password | NTRIP service account password |
After entering the credentials, tap Connect to establish the correction data stream. The status indicator will turn green once a valid RTK fixed solution is acquired. If the connection fails, verify your network connectivity and NTRIP credentials with your correction service provider.
Visual & Display Settings
Customize the appearance of the map view and editor to suit your preferences:
Trajectory Color
Choose a custom color for the vehicle trajectory line displayed on the map. Navigate to Settings → Display → Trajectory Color and pick from the color palette. A distinct color helps differentiate multiple vehicles or track specific runs.
Map Source Selection
The control terminal supports 6 map tile providers, allowing you to switch based on regional performance and visual style preference:
| Map Source | Best For |
|---|---|
| Amap | Fastest response within mainland China; street, satellite, and hybrid styles |
| Tianditu | Official Chinese mapping authority; vector, image, and terrain styles |
| Thunderforest | Outdoor-focused maps with Transport, Outdoors, Landscape, and Neighbourhood styles |
| OpenStreetMap | Global open-source map; standard and humanitarian styles |
| Tracestrack | Multiple tile styles with a clean cartographic design |
| Stadiamaps | Versatile styles including Alidade Smooth, Alidade Satellite, Outdoors, OSM Bright, and Dark |
Each provider offers multiple style options — for example, choose satellite imagery for survey work, dark mode for night operations, or topographic styling for off-road navigation. To switch maps, go to Settings → Display → Map Source and select your preferred provider and style. After a brief cache refresh, the new tiles will load.
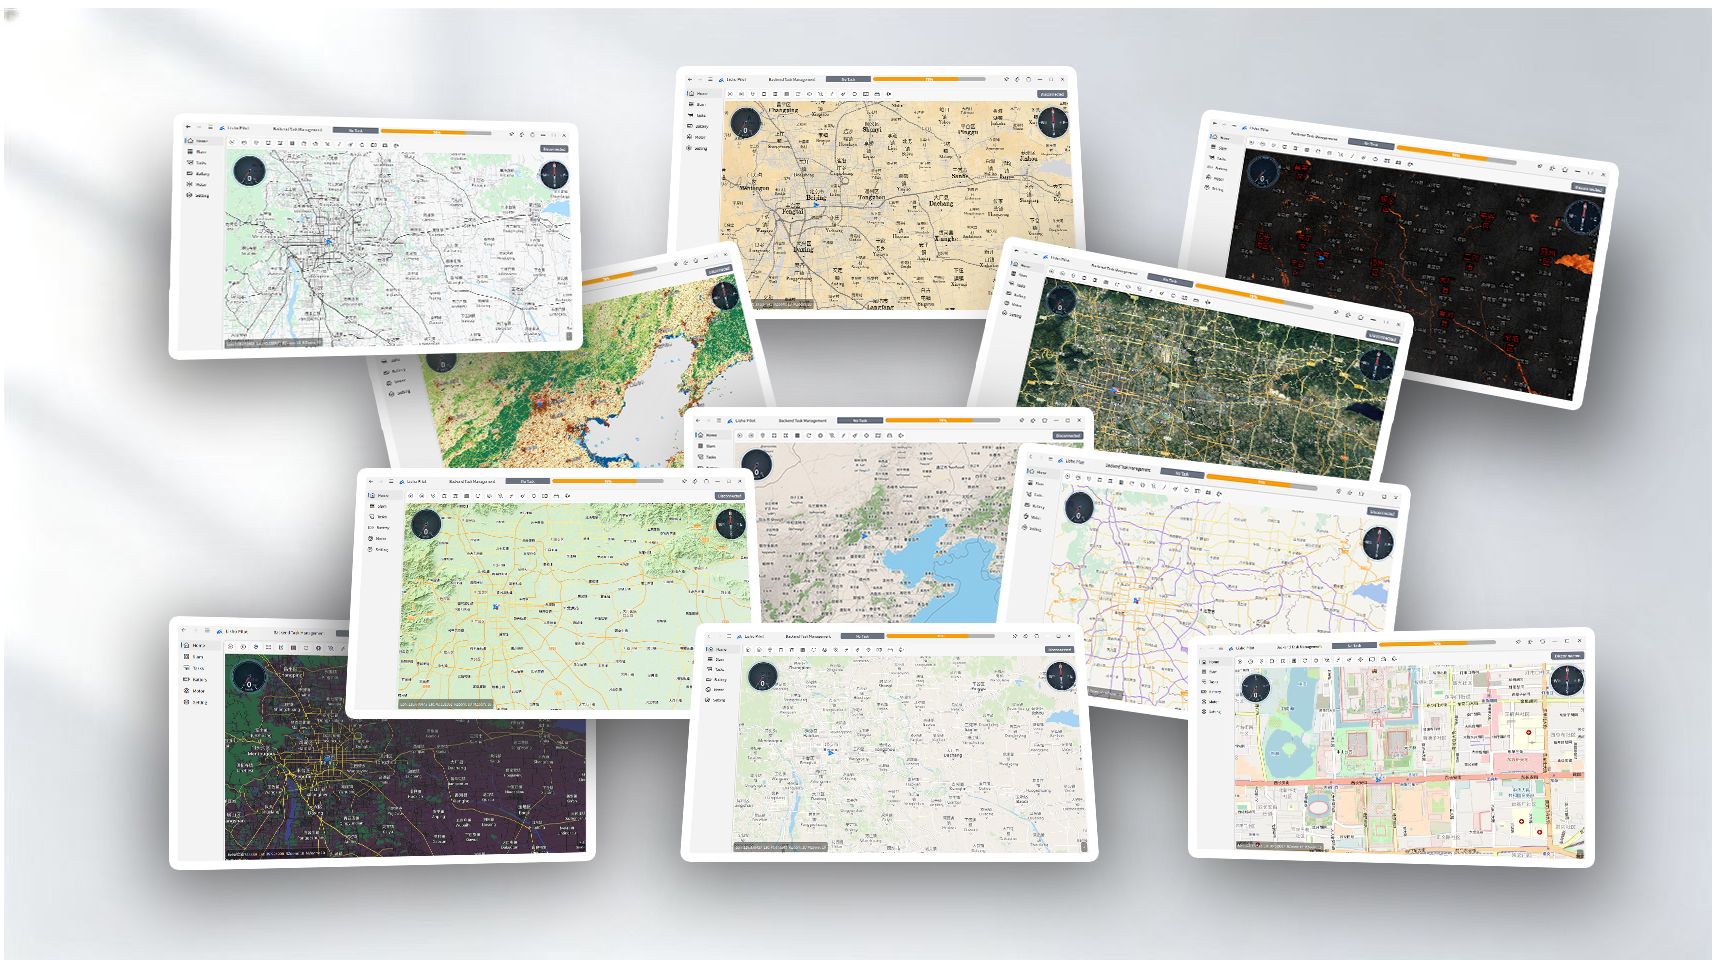
Tip: Different map providers have varying response speeds depending on your geographic region. If map tiles load slowly, try switching to a provider with better regional coverage — for example, Amap or Tianditu within China, and Thunderforest or Stadiamaps in Europe and North America.
Map Zoom Level
Set the default zoom level for the map view: go to Settings → Display → Default Zoom and adjust within the supported range (typically zoom levels 1–20). The setting determines the initial zoom when opening a map; you can still zoom in or out during operation.
Map Editor Brush Thickness
When using the map editor to draw annotations, zones, or no-go areas, you can adjust the brush stroke thickness. Navigate to Settings → Map Editor → Brush Thickness and set the desired line width (in pixels). Thinner brushes are ideal for detailed boundary drawing, while thicker strokes work well for highlighting large zones.